Installation options Office 365 Add-in
The FileCap Office 365 add-in can be installed using the manifest file, which can be downloaded from the"Add-ins and apps" page under "Web Outlook."
There are two options for installing the FileCap Office 365 add-in, per user or for the entire organization, both of which are explained below.
Note: Changes made within Exchange/Office 365 are not implemented immediately in all situations. As a result, the add-in is sometimes visible only after some time after installation. Source: The following Microsoft article.
Install per user (via Outlook Web Access)
1. Log in with your email account at https://outlook.office365.com
2. Then go to the inclientstore by adding /inclientstore to the URL. Your link will look like this:

3. After a few moments, the store will open. Navigate to “my-addins”.
4. Under “Custom add-in”, click “Add a custom add-in” to add a new add-in.
5. Locate the manifest file downloaded from the FileCap Admin Portal and click “Open.”
6. On the next screen, select “Install.”
After the installation is complete, you can verify that the FileCap add-in is working by following the steps below at "Check the add-in in OWA."
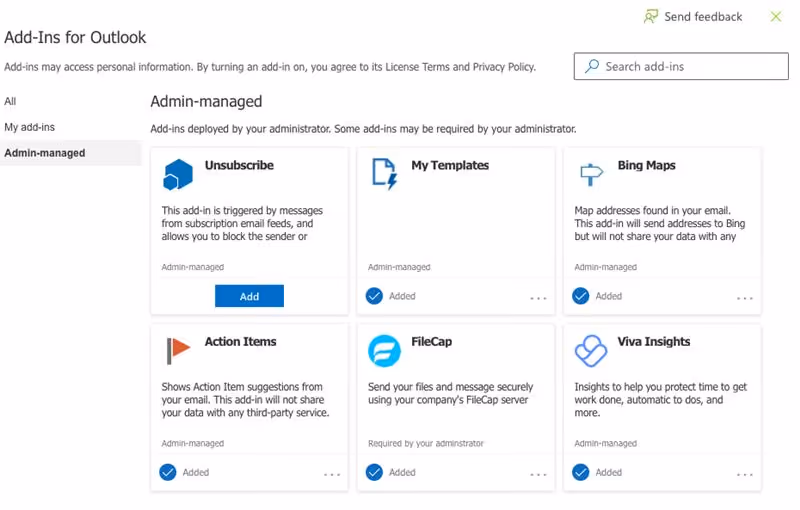
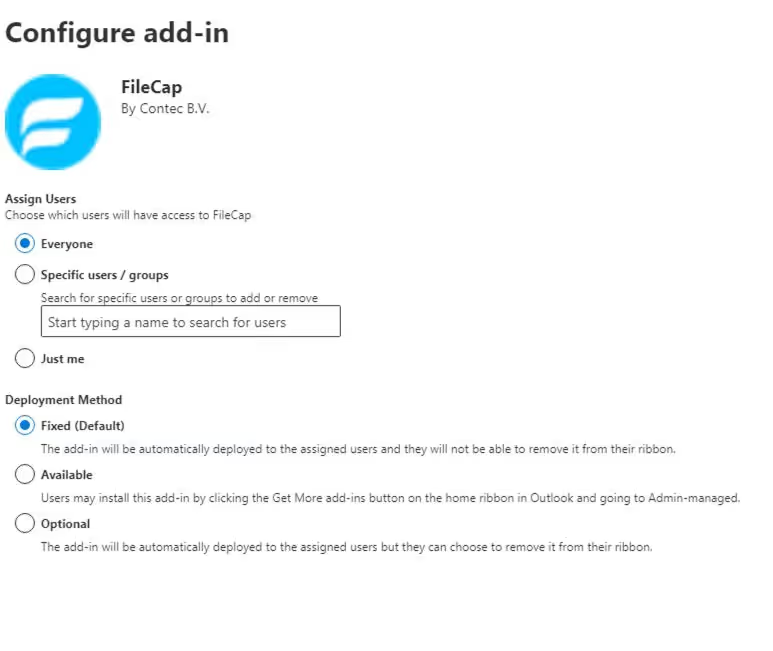
Install for entire organization (via the Exchange Admin Center)
Follow the following steps to install the FileCap Office 365 add-in through the Exchange admin center:
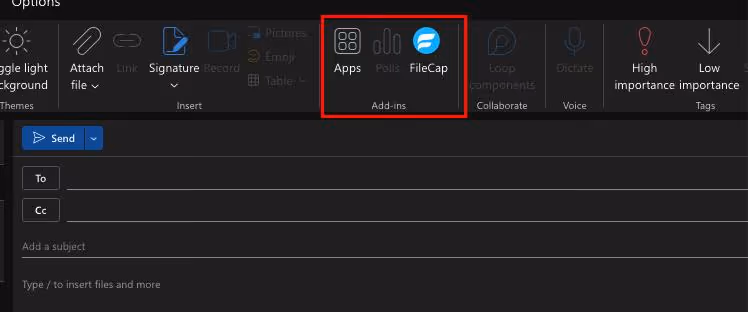
Controlthe add-in in OWA
To test the operation of the add-in, the following steps can be performed:
Is the add-in not available to users?